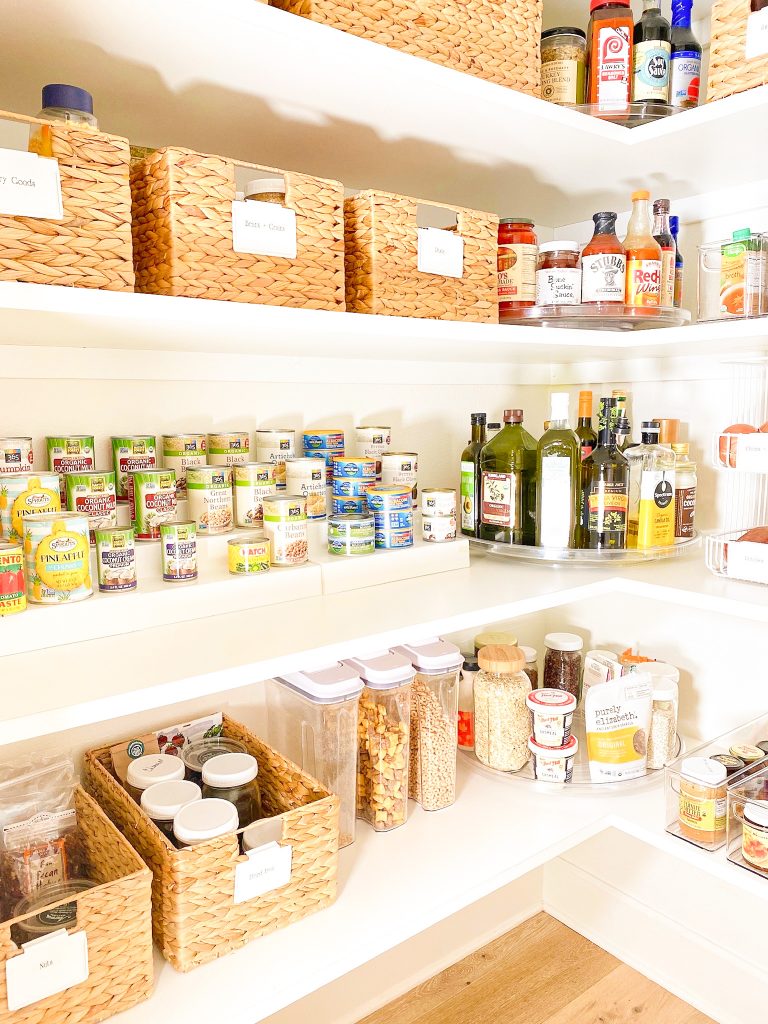
It’s always pantry organizing season at Practically Perfect, and we have yet another delightful transformation to share with you.
One of the reasons we’re so passionate about creating pantry content is because pantries are a space that we’re in and out of every single day. And organizationally speaking, the more you use a space, the more you will benefit from having streamlined systems in place!
This week, we organized MY OWN PANTRY to showcase how using specific products could up the organization from basic to beautiful.
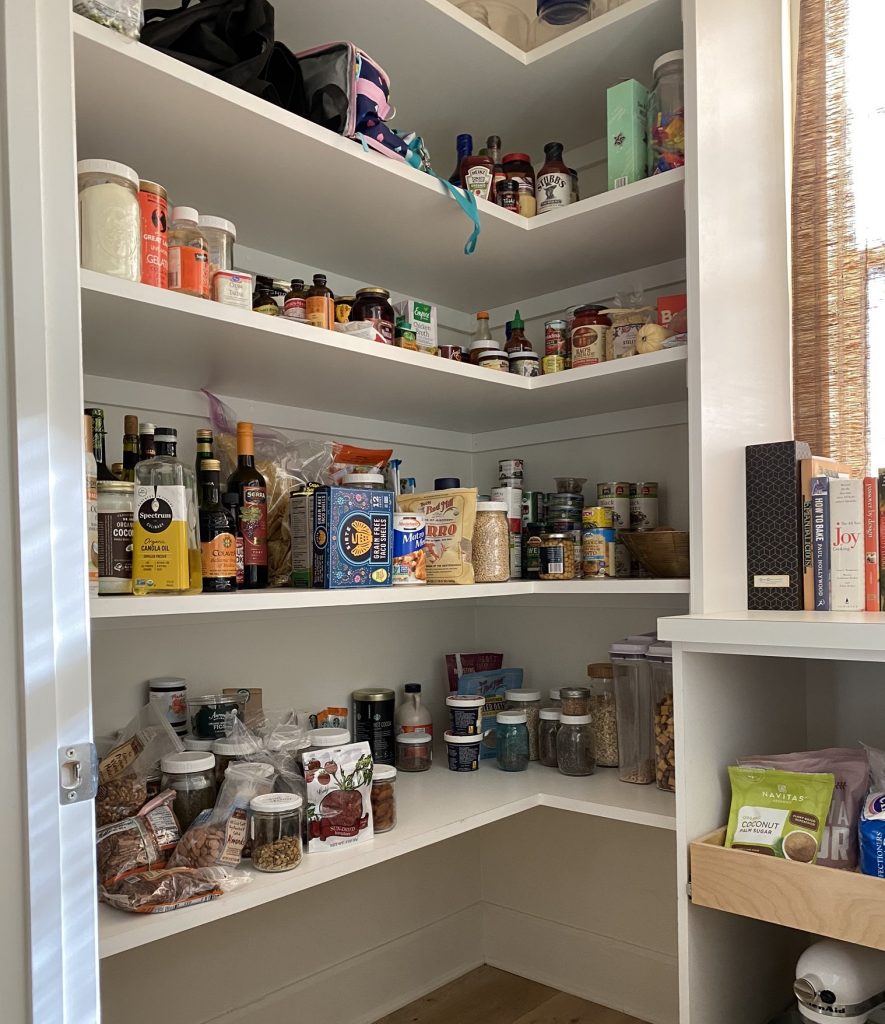
*Note: We did remove the existing organizing products to create a “before” that’s more typical of what we see in clients’ homes.
So, let’s get into the nitty gritty: the process of organizing, planning and purchasing the perfect products (a big thanks to our friends at The Container Store for supplying all of our faves!)
This post was created in partnership with The Container Store and may contain affiliate links. For more information, please read our disclosure agreement.
STEP ONE: EDITING + CLEANING
As always, the very first step of any organizational project is to eliminate unwanted or unneeded items. This ensures that you won’t spend time organizing items that you can’t or won’t use.
For my pantry, this meant taking EVERYTHING out, removing expired items and — Joni’s favorite part — wiping down all of the surfaces.
If you’re as enthusiastic about cleaning as Joni, you might do this once a month or even once a week. If you’re more like me, you might put this on your Spring Cleaning list and tackle it just once a year. We support both strategies, of course.
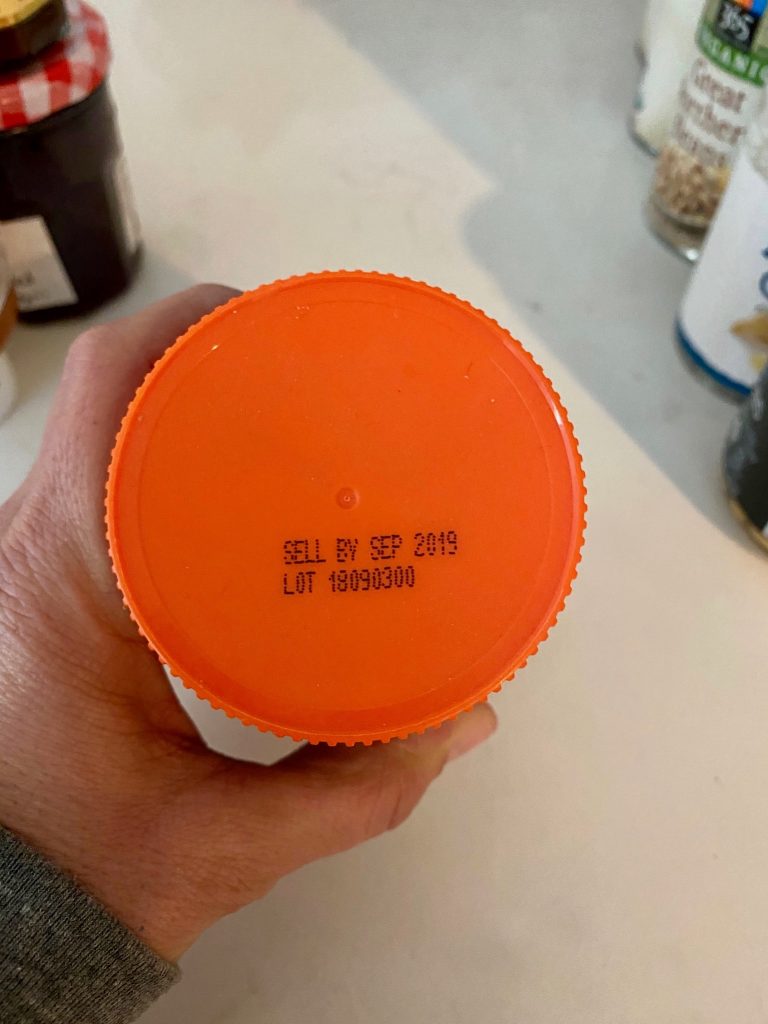
I did admittedly find a few items that needed to hit the road, like this container of sunflower butter.
Practically Perfect Tip: The more visible and accessible your food is, the less food you’ll waste. We all tend to use what we can see and reach, so the goal is to create an organizational system in the pantry that allows quick and easy access to everything.
STEP TWO: PLANNING + SHOPPING
Once I finished with Joni’s favorite part and my pantry was perfectly clean, it was time for mapping and planning. This is MY favorite part!
We cannot mention this enough times — zones are essential for organizing. Zones create homes for everything, which stops members of any household from simply dumping items into the nearest open spot. There is no one, right way to divvy items up — it’s all about what makes sense for you!
My pantry was already divided into zones. Personally, I like items divided by type of product, simply because that is how my brain thinks of things when I’m cooking a recipe. So I have zones such as: Sauces, Grains, Jams, Oils, etc. But items could also be categorized by meal type, in more general categories or more specific ones.
Practically Perfect Tip: When you create your own zones, think about what you need to access most conveniently from your pantry.
I prefer to keep my oils within reach but my sweets up higher and out of my line of sight. We definitely enjoy treats at my house, but I don’t want to be too tempted too often, and I like to make sure that my kids have to ask for permission first!
Even though my space was already organized by zones, it wasn’t working as well as it could be. Without the right products, it was going to be impossible to utilize all of the space effectively and difficult to maintain the organizing systems.
The difficulties in my pantry, based on this current setup included:
- Deep shelves, which create inaccessible space
- Lack of containment, which resulted in having to dig through areas to find the one ingredient that I needed
- Less functional corner space
- Lost items
This meant that products were going to be my pantry’s saving grace, providing some added function and accessibility. I pulled out my trusty tape measure and created a basic plan of where and how I wanted to access my pantry contents. And then I created a shopping list of these Practically Perfect go-tos:
- Baskets – to provide access in deeper spaces
- Expand-A-Shelf – to create visibility of cans and jars
- Turntables – for deep corners + to avoid any lost items
- Linus Bins – for containing smaller items
- Pro Keeper Set – for decanting baking ingredients
Practically Perfect Tip: We’re all about decanting, but only when it’s functional FOR YOU. It creates incredible visibility as well as a beautiful aesthetic. But remember, it takes some effort to maintain. Only decant dried goods if you can commit to removing the packaging and/or if you like to buy in bulk. When it comes to baking staples, we DO strongly recommend them in almost anyone’s pantry.
And then I went on my merry way to The Container Store!
STEP THREE: SYSTEMIZING + LABELING
This is one of the most satisfying parts of organizing — creating that beautiful end product!
I’d made a general plan, but personally, I love to play around with products and zones in the moment.
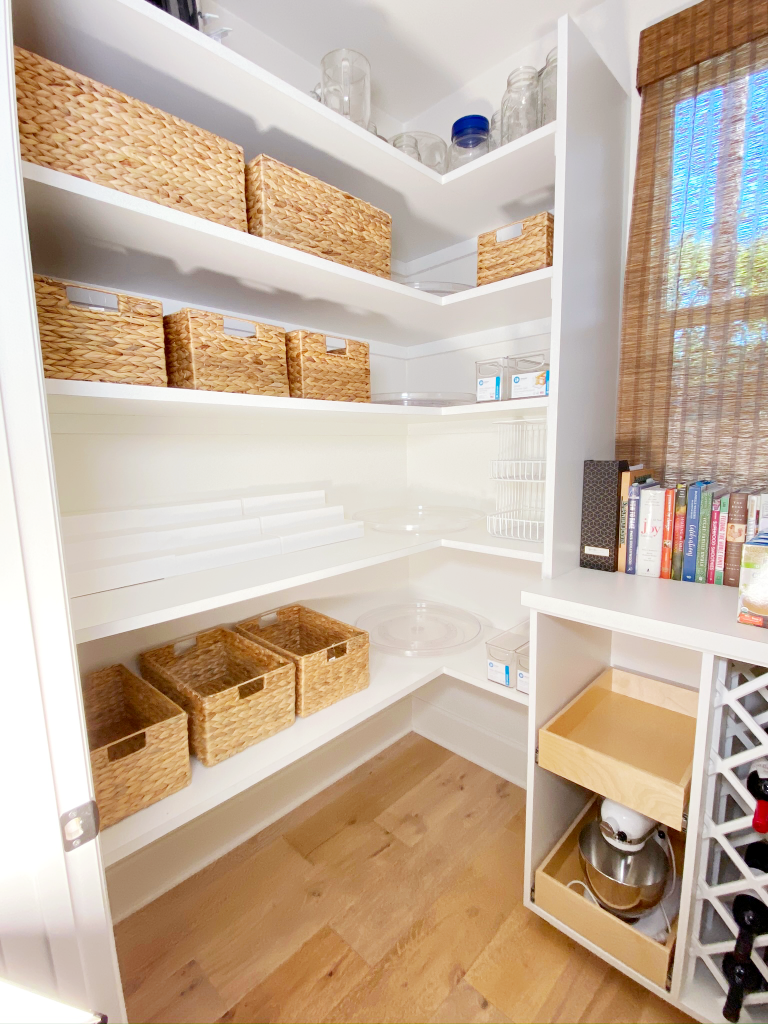
The largest spin trays ended up working best in the corners, as those spaces are often the trickiest for me to access. If you have deep shelves, I highly recommend these!
Baskets and bins worked perfectly to contain some of the smaller pantry items by zone. And I had to top them off with labels because… of course!
My baking ingredients were decanted (there was a moment of oh-no overflow, when I didn’t use my funnel!) The ProKeepers have a level inside, which I’m absolutely loving!
And lastly, the canned goods. They are now stacked beautifully on the shelves, which means no more cans-on-cans or inaccessibility.
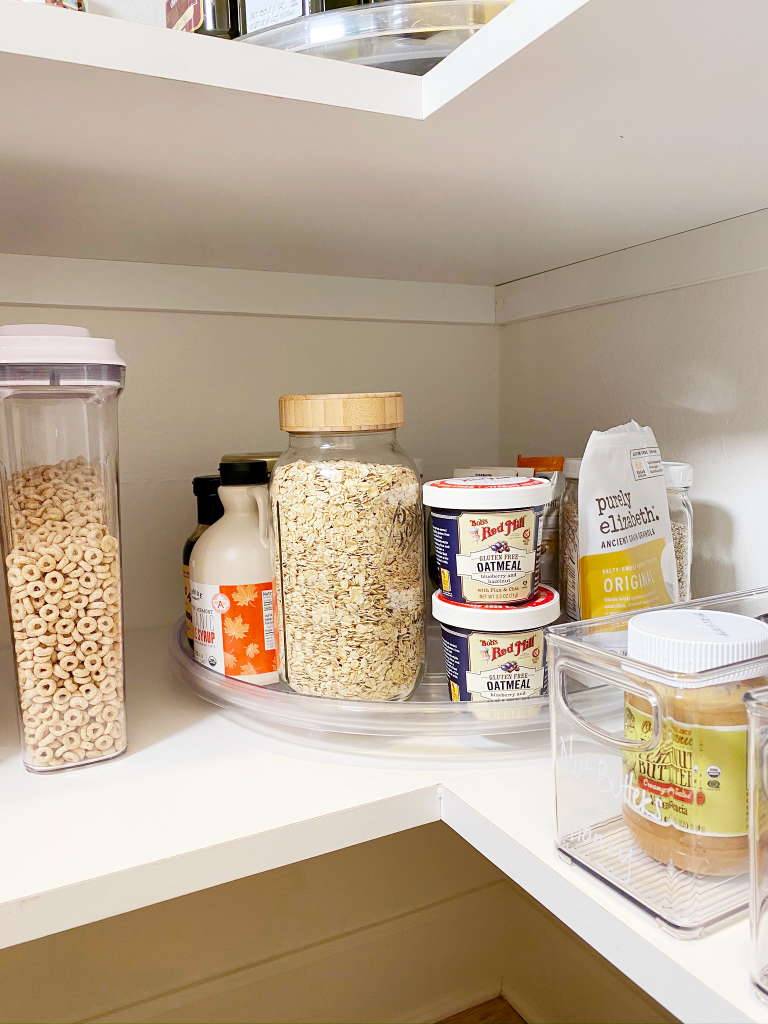
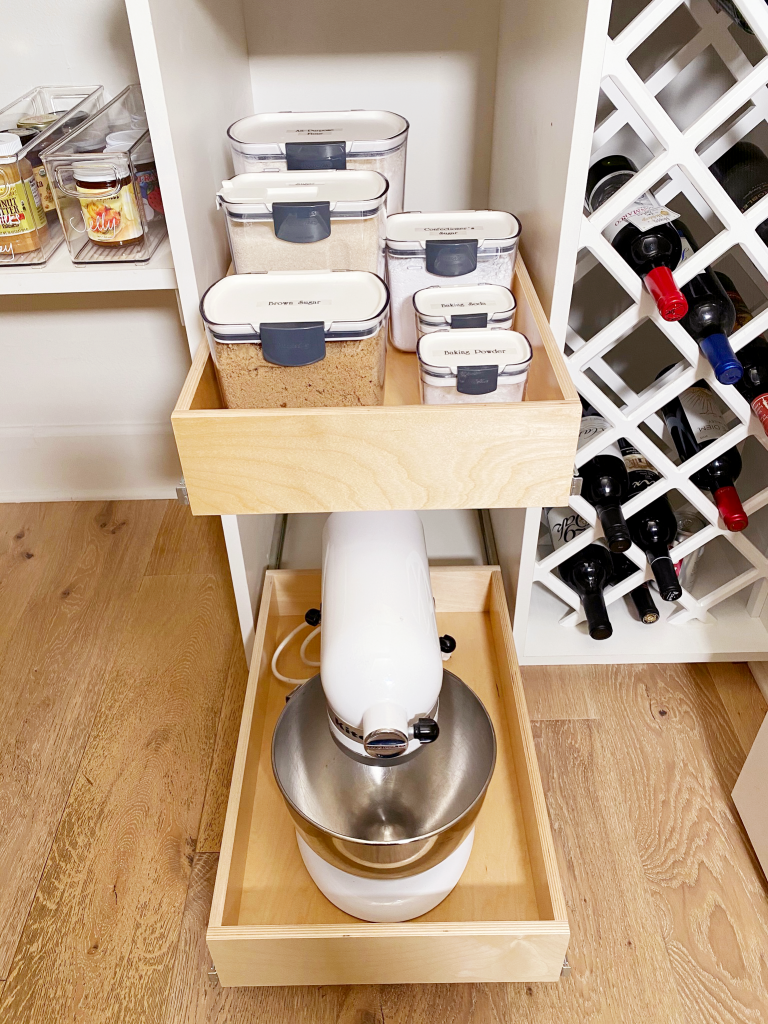
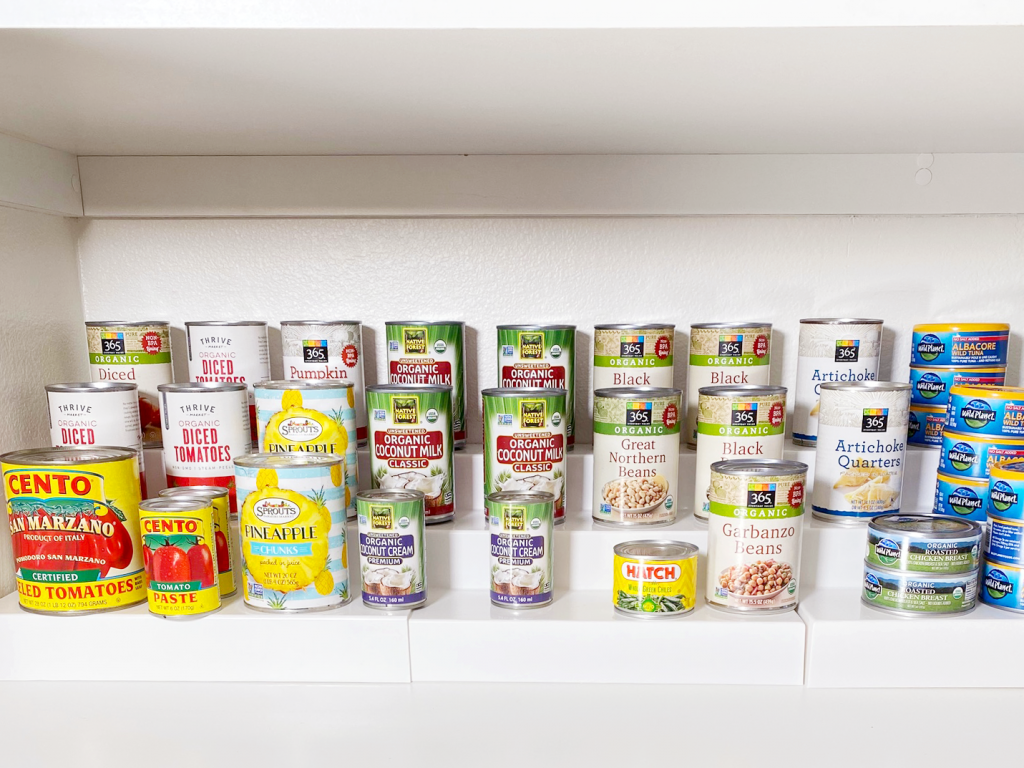
I am so pleased with my pantry refresh!
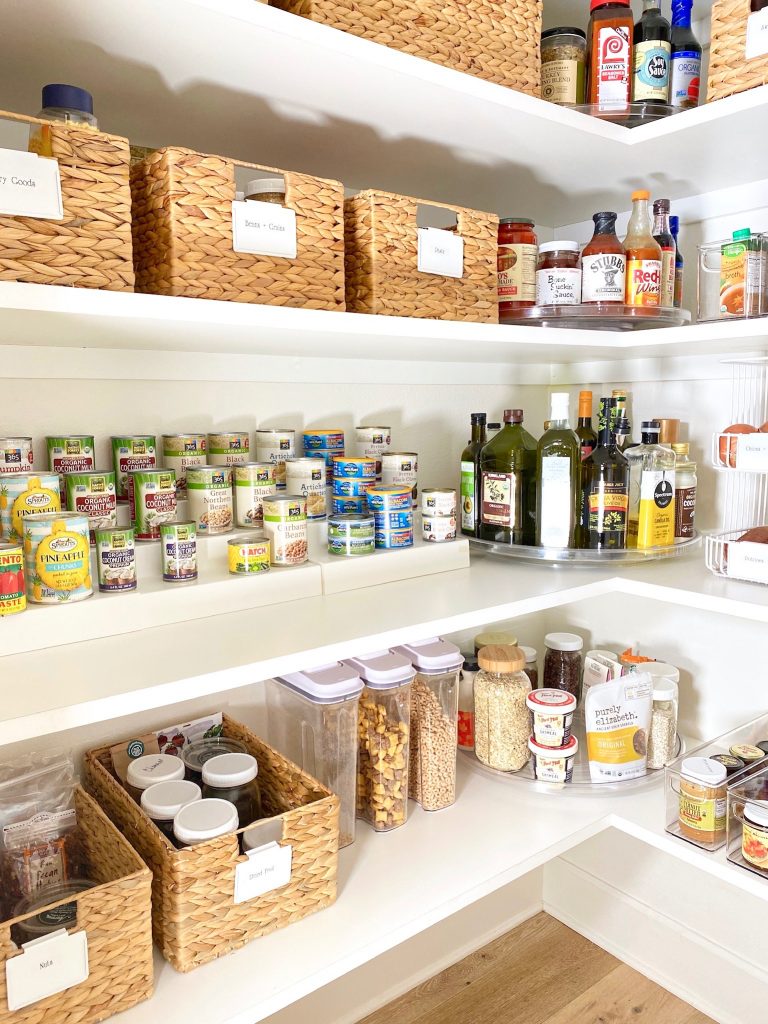
It’s always so hard to give space-specific tips, as each space is unique But if you’re tackling your pantry today, here’s a quick roundup:
- Edit your food items BEFORE you start organizing.
- Group your items into categories (“zones”) that work FOR YOU.
- Map out your pantry space based on what you use most often and what you want easy access to.
- Note any challenging areas: blind corners, high shelves, etc.
- Research products to help combat those trouble spots.
- Test out the products in your spaces, and DON’T remove any stickers until you’re sure that they are just right. We often try out multiple items in various ways before we’re PERFECTLY satisfied.
Be sure to comment below with any questions…
Happy Pantry Organizing!
XOXO
Kitt
For more inspiration, check out:

Leave a Reply